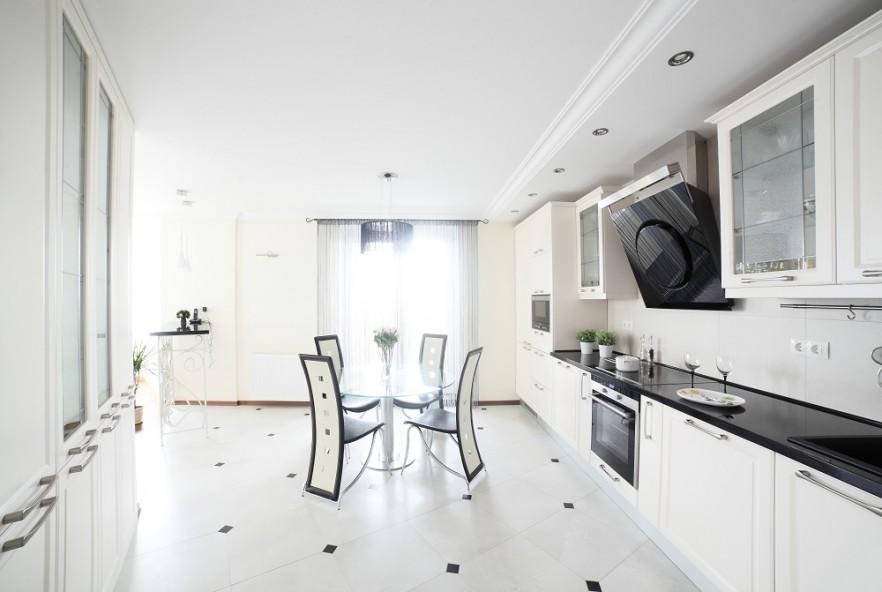
The most used place in the house is usually the dining room or the kitchen. So, let’s take advantage of the following DIY tips for home repairs and kitchen upgrades, and do the best for a fresh new look of your kitchen.
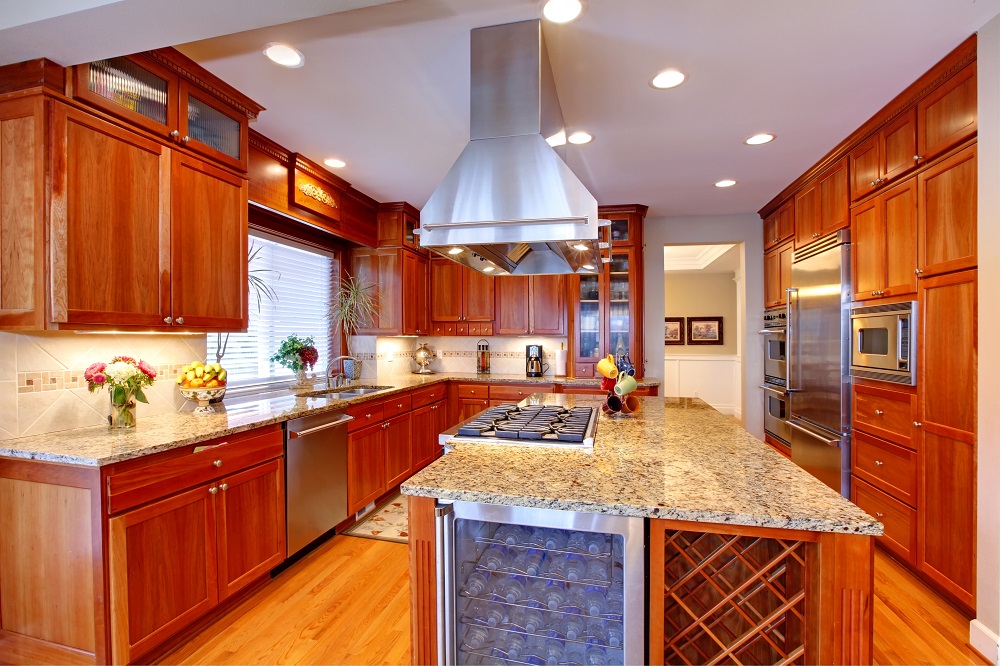
Tip 2: When it comes to repairs – inspect every part and objects in the kitchen. From the wooden edges of the table, the chairs and the other furniture, to the condition of the kitchen sink disposal. If needed, you can remove the disposal via simple ice cubes. Run the ice cubes through the blades for sharpening. If you spot something that needs repairing like hangers on the walls, castors on kitchen equipment or other malfunctioning objects – begin with the easy things and leave the most difficult as last.
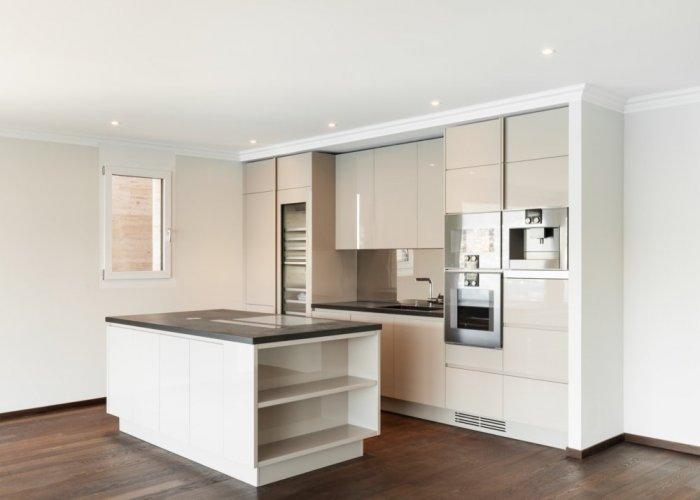
Tip 4: Upgrade the walls with hangers for towels and other mobile objects. One the yet simple hangers can highlight the design and the overall atmosphere of the kitchen, and two – they can change into truly useful items, especially when dining with friends. The hangers are perhaps the best and easiest space saving tricks. Moreover, the big and strong hangers with metal and wood finish can sustain to great weights and so you can put some big objects. Or else a couple of small vacuum hangers are the perfect small removals for hanging objects in more than one room at once.
Tip 5: Paint heavily worn surfaces in your own lovely colors. From soft pastel hues to bright colors with bold decorative elements – the newly painted objects in the kitchen can make you think like they’re new objects and furnishings. Just a great advice is to use a stain-blocking paint for the surfaces that get dirty easily. A relocation of one object to another place is another great idea, especially if you change its color. A gloss finish will ensure less staining, while the reflections of light will upgrade the nighttime atmosphere in the meantime.
Tip 6: Refresh the light via new lights or upgrade the old ones with something more beautiful and remarkable. For example, a simple fan with light on the ceiling can easily become the most remarkable object in the kitchen. Or else, let’s integrate a multitude of small LED lights into the ceiling, which will add a soft and fully dispersed light to every corner and place. Even in some cases, just a couple removable table lamps located at the right places can do the perfect job for upgrading the kitchen atmosphere.
