The first step to installing a chainsaw chain is checking the model of your chainsaw. That information could be found on the shipping package, instructions booklet, or general paperwork that arrived with the product. If you do not have that information available, then you can Google your chainsaw and match the model based on external specs and performance. However, keep in mind that installing a chainsaw chain is mostly the same process across the board no matter the model. If you would like to learn more about different types of chainsaw chains, their characteristics and prices check out this guide https://inspiredesignandcreate.com/best-chainsaw-chains/
Next step is using that model number and searching it through internet marketplaces such as Amazon, eBay, but preferably Home Depot to find the respective chain that you need to install. If you have the old chain, take it to a hardware store and get the proper measurements to determine what type of chain you need. Next is getting the respective tools which will include the following:
- Flathead screwdriver
- Socket wrench
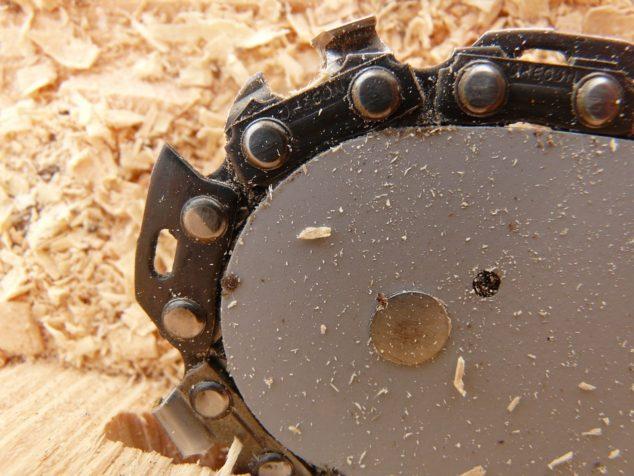
Make sure that the chain is getting installed the correct way. Some people have a habit of installing them backward based on the number of rivets at the bottom. They see a lot of rivets and assume those are the cutters. That’s wrong. The cutters, however, have the least amount of rivets.
Use the socket wrench to unscrew the bolts located on the side panel that covers the sprocket. Once removed, you will see the sprocket that controls the turning mechanism of the chainsaw. Most chainsaws have two bolts holding that side panel to the base. Others only have one. Once they become loosen, the panel should pop off.
Both sides of the chain have grooves, but you can pretty much tell which side has the cutters. They are sharp and they have the least amount of grooves. This is because when the chainsaw is turning fast the placements of the cutters create a precise cut when the motor revs.
The side with the most number of grooves should fit on the chainsaw bar. Match the corresponding chainsaw rivets with what you see in the grooves of the bat. Put the covering back on and re-screw the bolts. Use your flathead screwdriver to tighten up the tensioner hole inside the side panel.
This tensioner, which releases the chain, might or might not be visible depending on the model of the chainsaw you have, so you would need to look around for it. If the tensioner has a groove fitting a flathead screwdriver then you have found it. Once you start screwing it tightens or loosen up.
Start moving the chain with your hand while it’s on the bar to ensure that each groove is seated in the slot correctly. Think of it like a chain on a bicycle sprocket. Turn the chain counter clockwise to ensure it flows smoothly.


