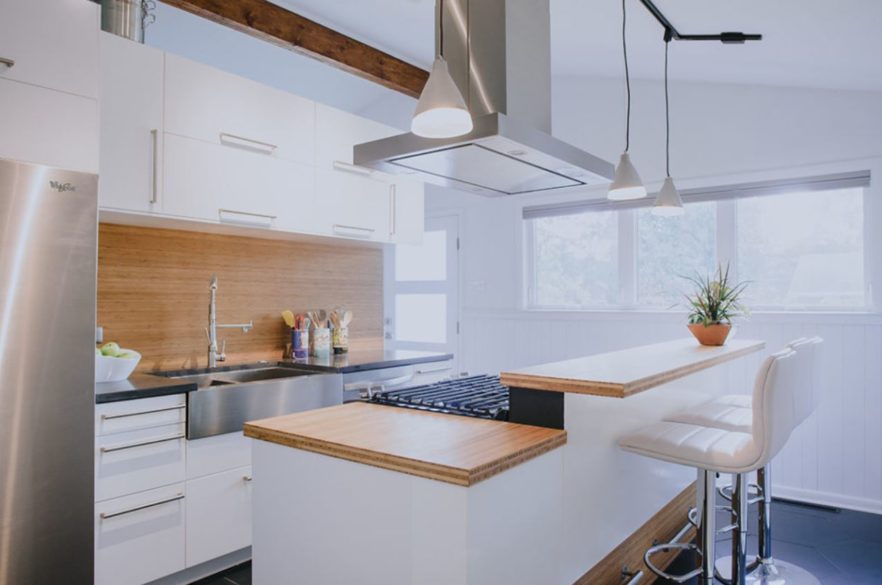
When it comes to kitchen renovation, the options for the perfect kitchen splashback are endless. A kitchen splashback is a great way to add a touch of personality to your kitchen while also protecting the walls from spills and splashes. But, before you start browsing for the perfect kitchen splashback, it’s important to understand how to properly install and maintain it.
Installing a Kitchen Splashback
- Measure the area where you want to install the kitchen splashback. Take accurate measurements of the length and width of the space to ensure that you purchase the correct size of kitchen splashback.
- Clean the area thoroughly. Remove any grease or grime from the wall and make sure the surface is clean and dry.
- Cut the kitchen splashback to size. Use a tile cutter or a wet saw to cut the kitchen splashback to the appropriate size.
- Apply the adhesive. Spread a thin layer of adhesive on the wall, making sure to cover the entire area where the kitchen splashback will be installed.
- Press the kitchen splashback into place. Carefully press the kitchen splashback onto the wall, making sure that it is level and flush with the wall.
- Allow the adhesive to dry. Follow the manufacturer’s instructions for drying time, as it can vary depending on the type of adhesive used.
- Apply grout. Once the adhesive is dry, apply grout to the joints between the kitchen splashback and the wall. Use a rubber trowel to smooth the grout and remove any excess.
- Allow the grout to dry. Follow the manufacturer’s instructions for drying time, as it can vary depending on the type of grout used.
Maintaining a Kitchen Splashback
- Clean the kitchen splashback regularly. Use a mild detergent and warm water to wipe down the kitchen splashback, removing any dirt or grime.
- Avoid abrasive cleaners. Avoid using abrasive cleaners or scrubbers on the kitchen splashback, as they can scratch the surface.
- Seal the grout. Apply a grout sealer to protect the grout from stains and moisture.
- Be mindful of heat. Avoid placing hot pots or pans directly on the kitchen splashback, as high heat can cause damage.
- Watch for discoloration. If you notice discoloration on the kitchen splashback, it may be a sign that the grout needs to be resealed.
In conclusion, installing a kitchen splashback is a simple and easy DIY project that can add a touch of personality to your kitchen. By following the steps outlined above and properly maintaining your kitchen splashback, you can ensure that it lasts for many years to come. So, with this guide, you will be able to install and maintain your kitchen splashback in no time, making your kitchen look brand new.
