Many photographers try their hand at interior photography of hotels, restaurants or for real estate agents. At first glance, it might seem that shooting design interiors is very simple. However, if you are photographing a house or apartment for sale, you must take perfect shots.
A lot of things, such as lighting or equipment, play an important role in this type of shooting. In this article, you will find many useful interior photography tips for novices. They will help you become a real professional.
H2 1. Use a Tripod
Of course, you can photograph the interiors without it, but the quality of the final result may upset you. In fact, long exposures are typically used for real estate shooting. Therefore, you need a reliable tripod.
Such kind of photographing may take a longer time, but your images will look more professional. If you are searching for a durable and stable tripod, pay attention to 3 Legged Thing Winston, it can hold up to 40 kg.
In addition, many interior photographs prefer Gitzo Systematic. This is another good option. Its quality is quite decent, while the price is affordable even for beginners.
H2 2. Go Wide
Shooting wide can help you get excellent shots. However, do not overdo it. Capturing the entire space of the room in each photo isn’t the best decision.
In this case, the 16-24mm range is a great solution. Remember that it isn’t necessary to shoot every single deco or furniture item. If some object is out of the frame, don’t worry and let your audience fantasize.
Capture half of a pillow or a cabinet, and this will look great. Pay attention to Samyang 12mm lens – one of the best models for interior photography. Check out prices and user reviews on B&H Photo or Amazon.
H3 3. Shot One or Two-Point Perspectives
When shooting interiors, use standard views, for example, a 1-point perspective. In this type of photographing, the plane of the sensor should be parallel to the wall.
It helps set a scene and shows the side and the back walls. A 2-point perspective means shooting with the camera directed into a corner.
In this case, the corner does not have to be in the center of the frame. Do not try to show three walls at once. Read more real estate photography tips for beginners http://fixthephoto.com/business/real-estate-photography-tips.html.
H2 4. Use Natural Light Whenever Possible
Artificial light is perceived by the human eye quite adequately and does not differ radically from natural lighting. However, cameras cope with this task not so well. Always try to use only natural lighting when photographing interiors.
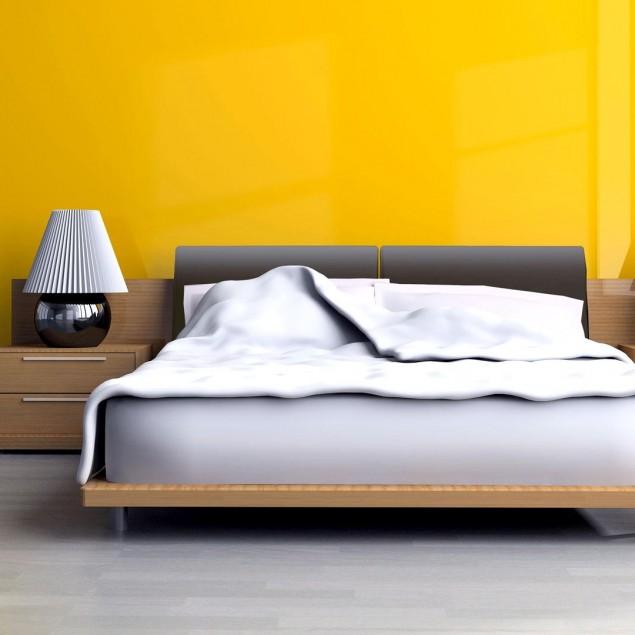
Lamp lights may add some yellow shades and unnecessary shadows to your picture. Give preference to natural lighting even in cloudy, rainy weather, it will look better than artificial light.
H3 5. Shoot from Mid-Room Height
Not every interior photographer can afford using tilt-shift lenses. Therefore, the best solution for optimal perspective control is mid-room height shooting. Keep the camera straight to make walls look vertical.
If a slight distortion of perspective occurs, it can be easily corrected with the help of photo editors. Use a tripod to control your camera’s position.
H3 6. Turn ON All the Lights
Lighting plays a significant role when it comes to photographing interiors. Open the curtains and windows, turn on all lights and lamps. Empty rooms with lots of light look very attractive.
Let the light play on reflective surfaces and create interesting shadows.
If the lighting is insufficient, use a high wattage photoflood bulb. Place it in a dark corner or behind the camera to reflect light from the ceiling or wall.You may even put it outside the window.
H2 7. Follow the Rule of Thirds
This is one of the most important interior photography tips. Apply the rule of thirds when composing a shot. Imagine a white rectangle and draw a tick-tack-toe field on it to get two horizontal and two vertical lines.
Place the central point of interest on them. For example, put a lamp or statuette on a vertical line and make sure you have a horizontal line (to make the image look square).
H3 8. Use Fill Flash
There are several interior photography techniques for reducing dynamic range. You may use bounced flash to fill in the shadows. Aim it at the walls and the ceiling behind you to reduce the amount of shadows in front of you.
Place the flash on your camera, or use it separately. Hold it in your hand and point it in the right direction.
Use a radio trigger or flashes with built-in triggers, such as the Cactus RF-60 or V6ii. Check out prices and reviews of photographers about these products on B&H Photo or Amazon.
Look at these pictures. One of them was taken with fill flash. The difference is obvious. Even such a small detail can change the overall look of the image significantly and add more light to it.
H2 9. Benefit from White Balance
Here is one of the most significant interior photography tips. White interiors are a fairly common occurrence. Sometimes cameras cannot cope with taking such shots in a proper way.
That’s why you need to use the white balance option to get the correct image. Do not forget to change the settings when working with other interiors — otherwise, you will get distorted colors.
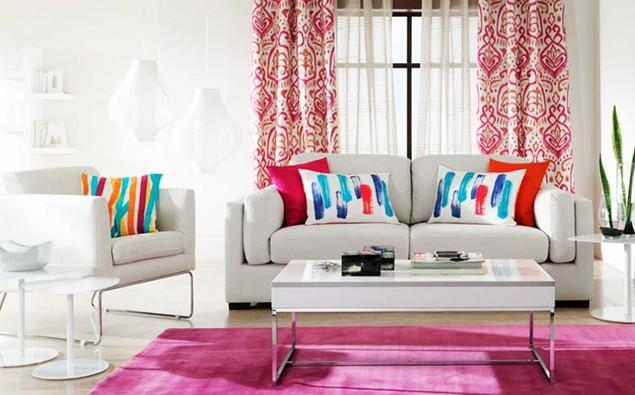
Try to avoid exclusively white elements in the photo. Add other shades with the help of décor items. For example, place a bouquet of flowers, a plate of fruit, a decorative pillow, a statuette or other objects in the frame.
Set Auto White Balance when working with artificial lighting. Lamp lights may distort colors. The right settings will help you preserve natural colors and make the scene deeper.
H2 10. Edit Your Interior Image
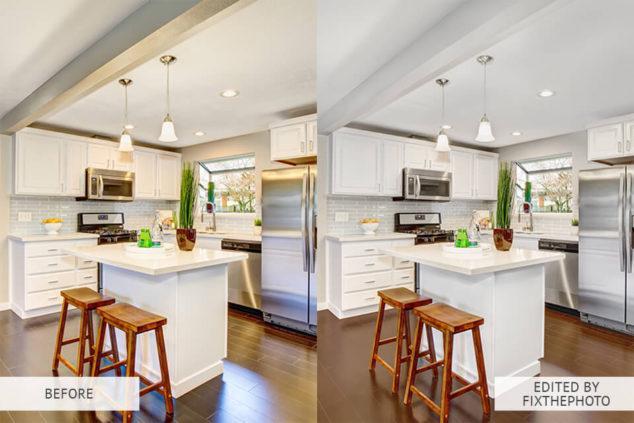
Regardless of what interior photography techniques you use, your photos need further editing. Today, there are many programs for improving images, designed for different professional levels. You may address professional real estate photo editing services http://fixthephoto.com/real-estate-photo-editing-services and receive edited photos from about $2 per image.
You can apply basic enhancements or perform deep picture editing. Change sharpness, contrast and eliminate imperfections with the help of modern and effective programs. Software like Adobe Lightroom (or Luminar) is what you’ll need to use if you want to edit the photos yourself. See a roundup of the different software options here: https://www.culturedkiwi.com/best-lightroom-alternative/
Some photographers do not have enough time to master all the intricacies of Photoshop and work on their images. In such cases, you should approach reliable outsourcing companies engaged in interior photography post-processing.
You will get a professional result in just a few days. Prices for such services are quite affordable, even for beginner photographers.
Follow these recommendations to develop your skills and learn how to take good interior photos. Your pictures will undoubtedly stand out from the works of your competitors.


