The roof is arguably one of the most important parts of your house, it keeps the weather outside where it’s supposed to be. With spring here and dryer weather approaching it might be a good idea to start thinking about your roof and whether it does its job. Whether you want to install a brand new one or just check your current one for defects, it makes sense to understand how a roof is installed from scratch.
Wait!
Undertaking a roofing project is no easy task, so it is essential to speak to an experienced contractor like advantage-construction.com. This is especially true if you have no experience and the job is complex. Making sure you are prepared is key before you start hacking away at your roof – the longer it takes you to finish, the longer your house will be out of action. For the sake of this article, we will be starting with a blank canvas.
The Underlay
The purpose of the underlayment is to prevent the impact of the wind and adverse freezing on the slate tiles. Further, the underlay adds an extra layer of insulation to your property and will keep your insides dry. The underlay is self-adhesive so you should be able to put this down with no problem.
The Tar Paper/Felt
Felt and tar paper are the same thing, and it goes over the underlay and is attached to the decking by staples. For the best result, ensure you overlap the square, so you’re not left with nasty gaps to let the elements in.
The Valley
The purpose of the valley is to carry heavy amounts of water away from the building. You can do this by using tar paper left over from the previous step.
The Shingles
It might sound like a nasty rash but don’t worry, it’s just the name given to the tiles that are placed overlapped to make a complete roof. Before you lay your main roof, you need to lay starter shingles to prevent water from seeping through the main layer.
The Capping
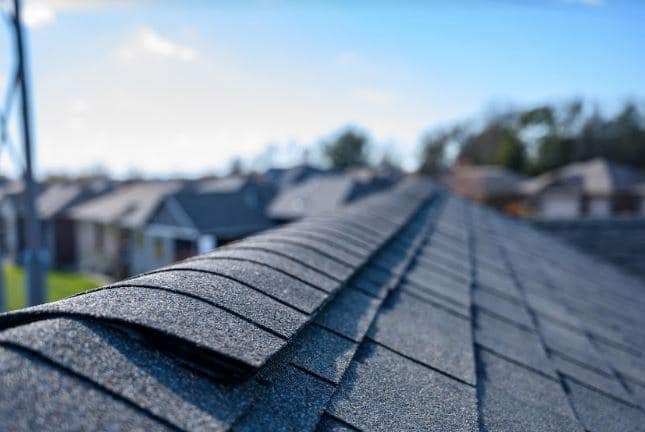
If you look at your roof, you will notice a ridge of specially shaped shingles that join the two sides together – this is one of the last steps in putting together your roofing.
The Finishing Touch
In this step, you get your gutter put up to keep rainwater flowing away from the house. Give your new roof a sweep and clear all debris away. Spot any exposed nails and use a high-quality sealant to protect.
There you have it, the fundamentals of putting a roof together. Of course, it’s one thing knowing how to put a roof together but another doing it is another ball game. If you are pressed for time, want it done properly, or just aren’t that much of a DIY person, it might be better just to scrap the process and hire a professional – that way if things go wrong, you’ve got someone other than yourself to blame.


